Because somebody asked me how to put the pieces together, I uploaded some pictures I found in the web with ideas. Look into the Practice Group folder in Pinterest.
I will end the Challenge the 1st July so that all have time to work on it. I am working slowly and will upload the way I do it in the last weeks. The piece must speak to me and I have no idea yet what conversation we will have with another! :-)

Mar 5, 2018

Feb 26, 2018

Feb 25, 2018
New work
I had a weekend with friends and we did "Valentine in her studio". Here my version:

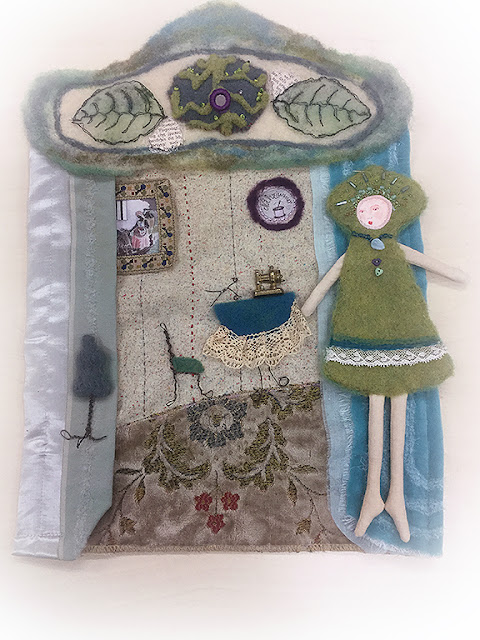


All are not quite finished but we had a good time imagining the details of the studio!

It isn't finished. I must still do the wire work
Of my friends:


Feb 5, 2018
Cuts - Schnitte - Coupures - Cortes
Today I cut holes and stripes and see what kind of embroidery is suitable to enhance the cuts.


Please open the photos to see the details!


With the embellisher or felting needle!


I had to do some running stitch to reinforce the piece!


Using the piece I cut out.
Jan 26, 2018
Scandinavian Technique
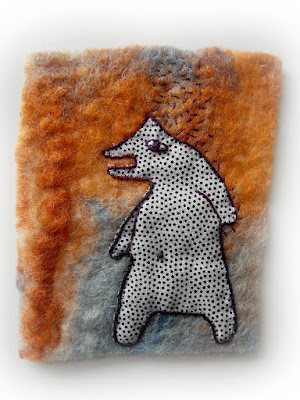
Today I was procrastinating in the web when I discovered some very interesting Swedish sites. One of them showed an intarsian technique I decided to try in my sampler for one of the motifs. You can follow the link to see the original site of historicaltextiles.org
The other two sites I discovered are www.kurbits.nu and 2stickare.blogspot.com
My try is the following one:



The other two sites I discovered are www.kurbits.nu and 2stickare.blogspot.com
My try is the following one:

I draw the contours of "an animal" with my Frixion pen from PILOT. This is a tip from mine: they are the most marvelous thing to work on textiles because you can draw what you want, correct it with another line on top, whatever, because if you iron it afterwords it will completely disappear!! as you can see on the next two photos!!
Before you begin with the couching you should sew the fabric to the felt with very small stitches, you don't have to turn back the border.

before ironing

after ironing
You can use it to draw you own drawings and stitch on top of the lines, for transferring pictures, etc.

Here you see how I began working with the thread I'm going to couch. I use a thinner one to do the couching on top of this one. I threaded a needle and stitched through the felt so that the knot stays on the back.

Here I began with the couching following the line along the border of the appliqué and putting the thicker thread on top of the fabric close to the border while stitching.

Here I finished the stitching and on the top left you see how I pull the thicker thread to the back with a needle to have a neat finish.

Here is the finished little guy. Guess what animal it is and then tell me because I have no clue... :-)
I noticed that this technique es very good for having a good contrast between the figures and the background in some cases. If you look at the kind of owl I did on another rectangle, you will see that the owl doesn't rag out of the felt like this one does.

Jan 23, 2018
Some examples
Here you can see how I worked on one piece, using mainly the buttonhole stitch.


You can also do some stitches in other pieces, like the running stitches here:

I will be using running stitches in other pieces trying to do it each time differently.
At the end everything should come together nicely:

This . above - is a kind of plan.
This small houses piece where I practiced some couching possibilities will be the one for the raffle, it isn't finished yet. I will put another piece in the wall hanging but you get the idea of how it could be.

This post was to explain once more the overall idea. My ideas and plan can continue to evolve as I don't know yet how I'm going to put them together.
Jan 22, 2018
Doing a more interesting background
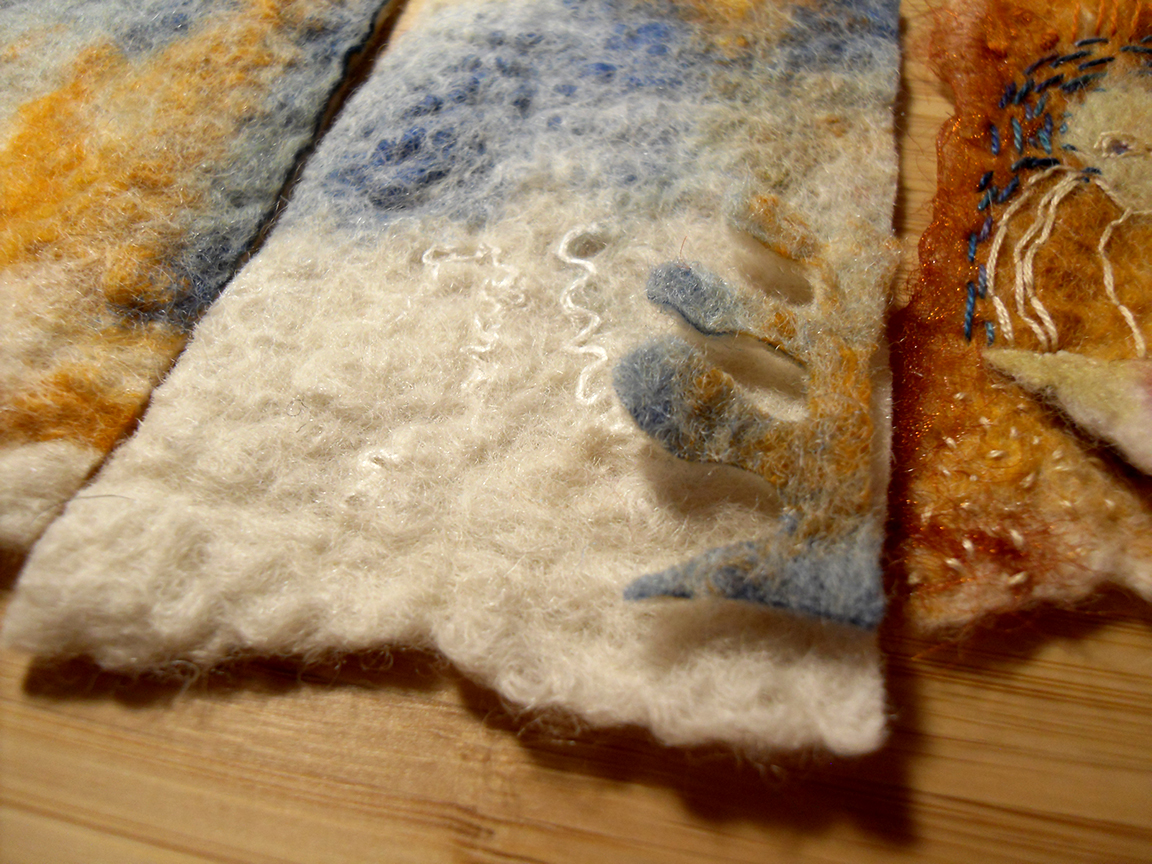


Before beginning with the embroidery I added some triangles and cut outs of the remaining felt (to the right) to the background to make it more interesting.
I will begin with the embroidery after attaching these pieces like an appliqué with tiny stitches all around like you see in the second photo.
The surface was a felted piece of about 40 x 50 cm (15" x 16")
Each rectangle is about 8 x 12 cm (2 1/2" x 4")
The idea is to improve or use your imagery and your use of basic stitches for making the piece more interesting and to push your boundaries. The running stitch allows an infinity of uses on your work, just try new ones, different space between rows, thin and coarse yarns, one or two threads on one needle, changing direction, overlapping, etc.
Because we have many rectangles and we wish to do a wall hanging or book , we can practice different ways to use the same stitch in different rectangles, if this enhances the composition.
Subscribe to:
Posts (Atom)