Dec 29, 2020

Alkonost


what is alkonost von en.wikipedia.org


The Alkonost is, according to Russian mythos and folklore, a woman-headed bird. It makes amazingly beautiful sounds, and those who hear these sounds forget everything they know and want nothing more ever  ...


Die Alkonosty sind die magischen Vögel des Glücks und der Hoffnung. Alkonost ist der Name einer Sagengestalt des russischen Volksglaubens. Es handelt sich um Vögel, die das Gesicht einer schönen Frau besitzen.


Das  ist die Erklärung in Wiki:


Bearbeiten

Für die Russisch-Orthodoxe Kirche ist die Alkonost die Personifikation des göttlichen Willens. Sie lebt im Paradies und verlässt es nur, um in unserer Welt Botschaften zu überbringen. Ihre Stimme lässt jeden, der sie hört, alles rund um ihn vergessen.


Dec 26, 2020

...and the throw grows...

I am enjoying very much this technique medley. I already embroidered 5 motifs and now I must finish the background of two of them. Also the knitted blocks in between.


I was looking for antique motifs in the net and have found many to incorporate.


Dec 23, 2020

Merry Christmas and a Happy New Year!

 We are almost there. I wish you all the best for the Feasts.

I am spending much time knitting and doing crochet.

It all began with my following the YouTube videos of Arne and Carlos of Norway. They are my family in this Covid time. I watch them all the time while working on my things and I began doing their knitted squares for a throw. They have the patterns on their blog if you would like to do them.

But then I realized that this throw has about 90 squares and I would be very negletful about posting in my blog if I keep knitting all the time. Also they showed the new ergonomic Prym crochet hooks and I couldn't resist buying them. I love crochet too. Now I had a real problem. Knitting, crochet + felting... Hmm... 

And suddently yesterday night I couldn't sleep thinking of all this and I remembered I wanted to do a kind of Medieval big piece. So why not combine all of these techniques inone piece making it my own creation and having fun all along?

Thank you, Arne and Carlos, you wonderful people, for triggering my imagination. I will continue to use some of your blocks and creating my own Medieval ones. It is all about mixing all traditions I love and honour and spending the long Covid months doing something useful and fun.

Here is the beginning of this new history:

I bought the Donegal tweed knitting yarn because I love the quality and the colours. I choose these:


I knitted with the double knitting technique, where you have the reverse pattern from the other side of the throw. It is nice to not to have visible flows and it gives the piece a nice finished quality.


You can see the front with one of my little persons and the back with an appliqué self dyed fabric. This is to cover the back of the embroidery so that you can use the throw from both sides. It would a pity not to see the positive negative effects of the knitting!

Well, these are the first 3 of 90. 87 more to go! But then Covid will keep me at home for some time till spring comes and the woods call me. I don't enjoy that much to walk on icy roads...

Have a peaceful time and I'll keep you informed of the progress.

Nov 30, 2020

Woods Angel

 There is an angel in the woods who helps people find the proper Christmas tree and even bring them some decorations...


Nov 23, 2020

You're never alone

 In between I finished this small piece I began a while ago.


Step 7

I now post the almost finished Santa so that you see the way you can work on it. Take it as a surface you can embellish and use all techniques you know that can be suitable for the piece.


Don't forget to upload pictures to the Pinterest folder!


Nov 21, 2020

Pictures of the participants!

 These are the wonderful contributions to the Challenge: 

From Marjon Verhoeven:


From Marjan Wolfs:


From Oliva Garcia:


From Sarah Meek:


Step 6

 This is the progress of my piece. After this I will show my piece already finished because I couldn't stop and there was a moment where I had to stop. So now I'm going to do a second Santa to try other techniques and decorations...


I think the pictures are self explanatory. There is a huge surface left that needs to be worked on. You can use overlapped pieces of fabric. You can embroider them, sew buttons, beads, etc on them. Be creative. Everything is right. This is YOUR piece.


HAVE FUN!!!!

Nov 19, 2020

Step 5

 Thank you for all the answers to my call. I am happy to see that you are following this challenge and either do it already or plan to do it after you finish your Christmas gifts!

I would like to explain that the Santa body you are making now is going to be almost completely covered by appliqué and embroidery so don't worry if it still doesn't look quite ok for you!! :-)

I will be showing today the finished body - well, quite finished - so that you prepare for the fun of embellishing it with other fabrics and threads.

You should prepare some matching fabrics and threads in the colours you want to use. I will be doing a woods Santa so that my choice is one of natural dyed and printed fabrics. You can use whatever you like most. Christmas fabrics, some collection of fabrics you haven't used yet that is laying in some cupboard...  whatever. Try to use different kinds of fabrics, cheesecloth, tulle, gaze, cotton, sheers, etc. As for the embellishments you surely have loads of them.

Now to the Santa I'm making:


I put some fabrics on top of the Santa to see how they look like. I'm only looking at it at this point.
I think I will use some branches as arms when the moment comes...

I like to skew the face so that it doesn't look too straight.

The fabric I put under the face can work as a hat. I'm doing this:

First I fixed the fabric that is going to show under the face and be the hat. I fixed it with running stitches and small backstitches every 1cm/ 1/2"


After that I appliqué the face.


I pinched the fabric with my fingers till I got it right, the way I wanted it to be. From the front and from the back.

Now I'm happy with the way it looks.


I fixed it with some appliqué stitches.


Finished!


Now you can begin with the embellishment of the Santa!

I must say that it's a wonderful surface to work on. It is very forgiving and easy to stitch.

I won't be doing a neat appliqué with turned edges (you are of course free to do if you like it, it depends on the way you want it to look at the end! I will be happy to see different outcomes) because mine is a rustic type of Santa.

It matches the woods where I walked this morning:


I would like to show you some Santas done in the group so that you can see the wonderful possibilities!:


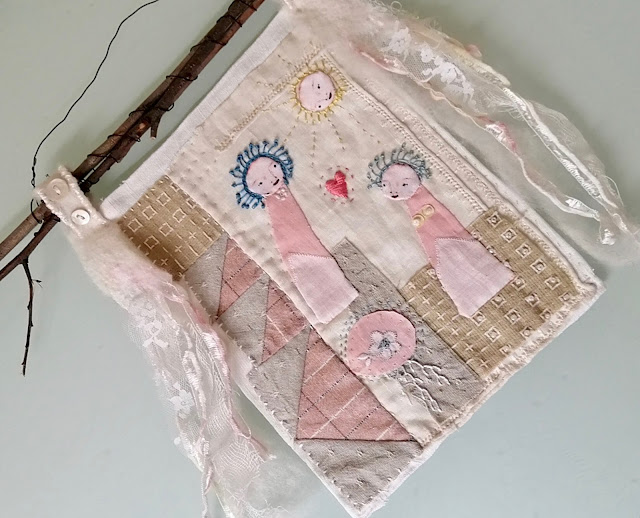
This wonderful Santa was done by Sarah Meek. It's a great beginning!


This is also a great face from Oliva Garcia.


From Marjan Wolfs a wonderful interpretation on fabric!

From 
Marjon Verhoeven with a big moustache!:


Please try to send them directly to Pinterest. I sent you an invite. You just have to accept it. 

Log into Pinterest and you  can upload your Santa in the Santa folder!


Nov 17, 2020

Step 4


First close the two pieces of felt with running stitches.


Close the top of the head, you should aim for a curved top:


Close it with winding stitches:


Now you should have something like this:


I only put the face on top so that you get an idea. I will sew it later.

Sew the upper part of the body to the lower one, also with running stitches.


Fill it with fleece or with wool roving. Now you will have a surface to appiqué and embroider on!


I haven't got any feedback about anybody following this challenge. Did you write to the address lechner.sara@gmail.com sending me your email address?

Because the challenge is a lot of work for me, if you are not interested there is no point on me showing you the progress of my Santa. I will post the finished Santa when I finish it.

I thought it would be a good idea for the lock down...